How U.S. Airport Terminals Are Organized
Most major U.S. airports divide their facilities into two fundamental zones: landside and airside. Landside refers to the publicly accessible areas — check-in counters, baggage claim, ground transportation, and ticketing halls. Airside is everything past the TSA security checkpoint, including gates, boarding areas, and in-terminal retail. Knowing which side you need to reach eliminates a significant source of confusion.
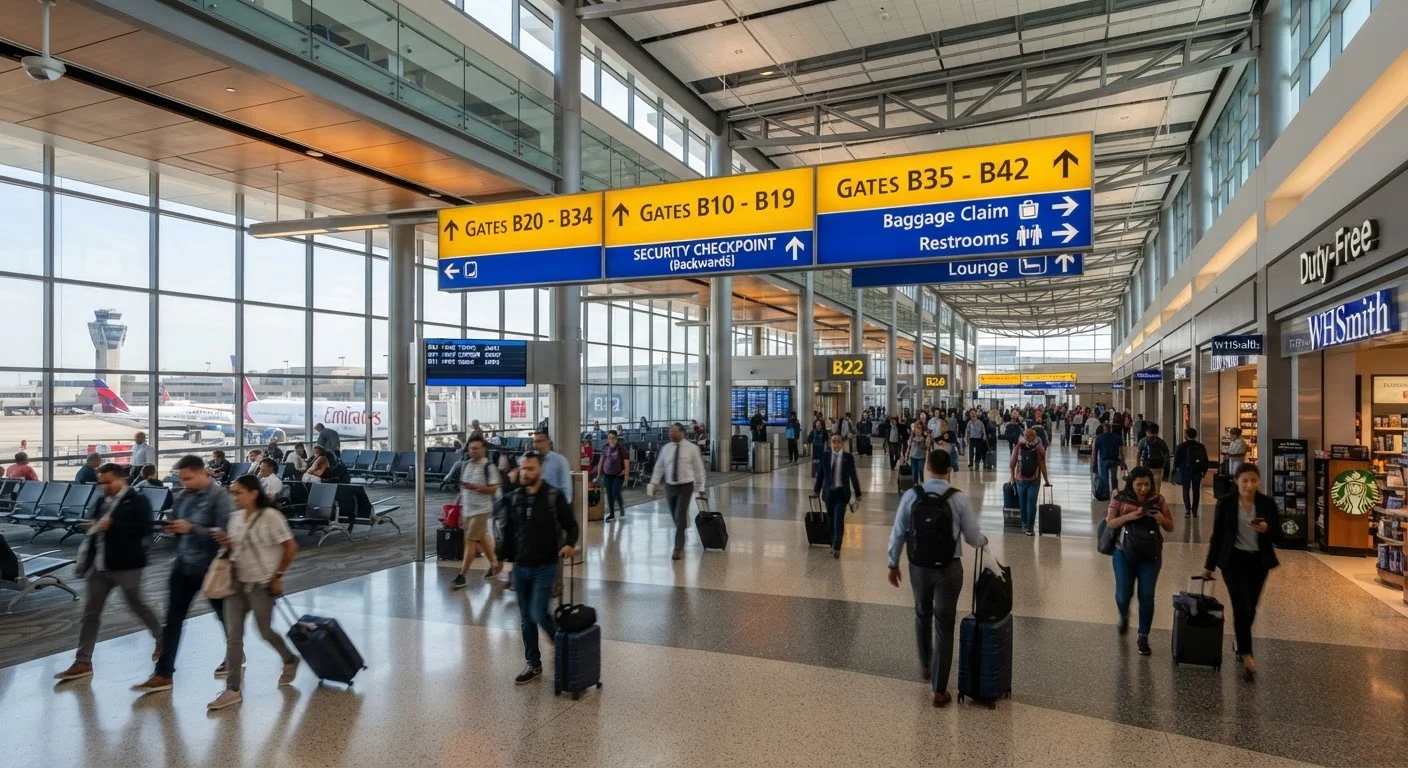
Within airside, airports group gates into concourses (sometimes called terminals or piers). These are typically labeled alphabetically — Concourse A, B, C — or by number. Each concourse contains a sequential range of gate numbers. For example, gates A1–A30 all sit within Concourse A. When your boarding pass reads Gate B22, you know immediately you need Concourse B, then count up from lower gate numbers to find 22.
Larger airports — such as Dallas/Fort Worth, Atlanta Hartsfield-Jackson, or Chicago O'Hare — operate multiple separate terminal buildings, each requiring its own security checkpoint or an inter-terminal train. Smaller regional airports often have a single linear concourse where all gates are visible from one walkway.
For a broader orientation to airport procedures and key travel terms, see our traveler's reference glossary.
Decoding Airport Signage Colors and Symbols
U.S. airports follow a largely standardized wayfinding system developed in alignment with guidelines from the Federal Aviation Administration (FAA) and the Transportation Security Administration (TSA), though individual airports may customize colors. Here's what the dominant sign types generally mean:
- Black background, white text: Gate directions and concourse navigation — the most common signs you'll follow once past security.
- Yellow/amber background: Often used for caution, construction detours, or temporary routing.
- Green background: Exit routes, emergency egress, and sometimes ground transportation directions.
- Blue background: Informational services — restrooms, elevators, customer service desks, and accessibility accommodations.
- Red background: Restricted areas or emergency-related notices.
Pictograms (small icons) supplement text throughout. A stylized airplane pointing upward signals departures. An airplane pointing downward indicates arrivals. A luggage carousel icon marks baggage claim. A wheelchair icon identifies accessible routes — these paths also typically have wider corridors and elevator access.
Overhead hanging signs — called blade signs — appear at corridor intersections and display arrows directing you toward specific gate ranges. Train icons indicate inter-terminal or inter-concourse automated people movers (APMs). Always follow the sign with your gate range, not simply the first arrow you see.
Save the Airport Map Offline
Airport Wi-Fi can be slow or unreliable during peak travel periods. Screenshot the terminal map and your gate area before you leave home. This 30-second step means you always have a reference even without a connection. Many airline apps also display gate information cached from your last sync.
Using Airport Maps Effectively
Every major U.S. airport publishes an interactive terminal map on its official website and app. Before your travel day, spend two minutes locating your departure gate and identifying the nearest TSA checkpoint. Note the distance between your gate and key facilities: restrooms, water bottle fill stations, and seating areas. This advance familiarity dramatically reduces in-airport stress.
On the day of travel, physical printed maps are still available at information kiosks near terminal entrances and at airline check-in counters. Digital options include the airport's own app, Google Maps (which has indoor map data for many major airports), and airline apps that often display gate information in real time.
When reading a map, orient yourself using the entry point — whichever door or train station you entered from. Most terminal maps label entrances and security lanes explicitly. Find that anchor point first, then trace the route to your gate. Avoid the common mistake of rotating a map mentally without identifying your starting position — this leads to walking in the wrong direction.
If you have a longer layover and want to make the most of it, understanding how to use layover time strategically can help you plan around airport amenities.