Why This Walkthrough Matters Before You Sign
Signing a lease without a documented walkthrough is one of the most common — and costly — mistakes renters make. Pre-existing damage that goes unrecorded at move-in often becomes a deduction from your security deposit at move-out, even if you never caused it. A methodical inspection flips the evidentiary burden: you're not trying to prove innocence from scratch; you have dated documentation that predates your tenancy.
This isn't paranoia. It's standard practice. Most states require landlords to provide a move-in checklist or conduct a joint inspection, but requirements vary widely. Regardless of what your state mandates, completing your own room-by-room walkthrough — before signing and ideally before paying a deposit — gives you a paper trail that holds up in small claims court if things go sideways later. Read our companion article on what landlords can and cannot keep from your security deposit to understand the legal context surrounding deductions.
If you're navigating your very first rental, our ground-up guide to finding and signing a lease walks through the full process from application to move-in.
Document Before You Pay Any Deposit
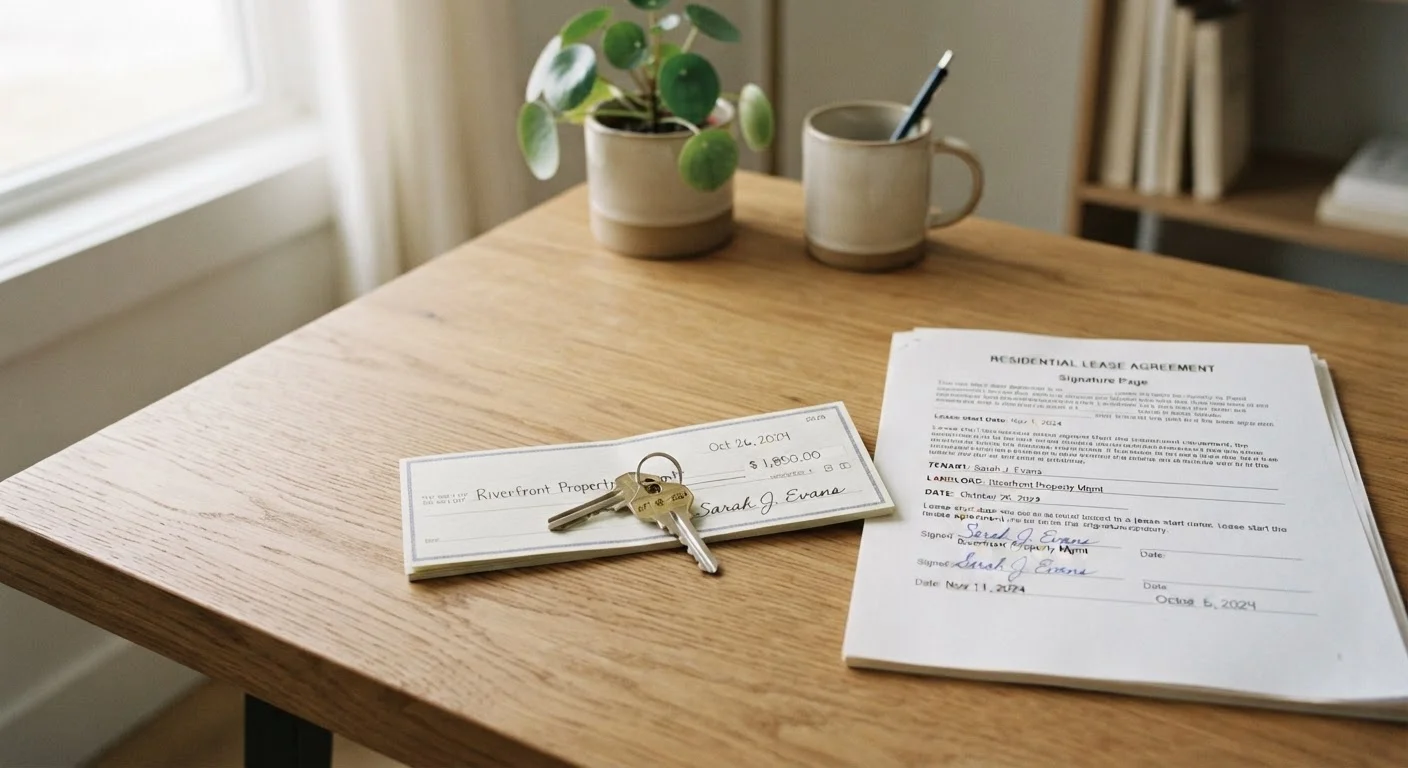
Ideally, complete your walkthrough before handing over a security deposit or signing the lease — not after. Once money is exchanged and documents are signed, your leverage to raise pre-existing conditions diminishes. If the landlord won't allow a pre-signing inspection, that refusal itself is a red flag worth weighing carefully before committing.
What to Bring to Your Walkthrough
Arriving prepared makes the inspection faster and more defensible. Gather these tools before you head to the unit.
Smartphone with camera
Capture dated, timestamped photos and video of every room and any defects found during the walkthrough.
Printed or digital move-in inspection form
Provides a structured, room-by-room framework for recording written notes that can be shared with the landlord.
Plug-in outlet tester
Quickly verifies whether electrical outlets are wired correctly — available at hardware stores for a few dollars.
Flashlight or phone torch
Illuminates dark corners, the undersides of sinks, inside closets, and other areas where damage or pests hide.
Notepad and pen
Backs up digital notes and allows you to have the landlord co-sign the inspection record on the spot.
Tape measure
Useful for confirming room dimensions match what was advertised, especially if you're planning large furniture placement.
Give yourself enough time — at least 30 to 60 minutes for a standard one-bedroom apartment, more for larger units. If the landlord is present, be polite but thorough. You are not being difficult; you are protecting a financial asset. Ask the landlord to sign your completed checklist when you're done. If they decline, note that in writing and keep your own copy with timestamps.
Room-by-Room Inspection Checklist
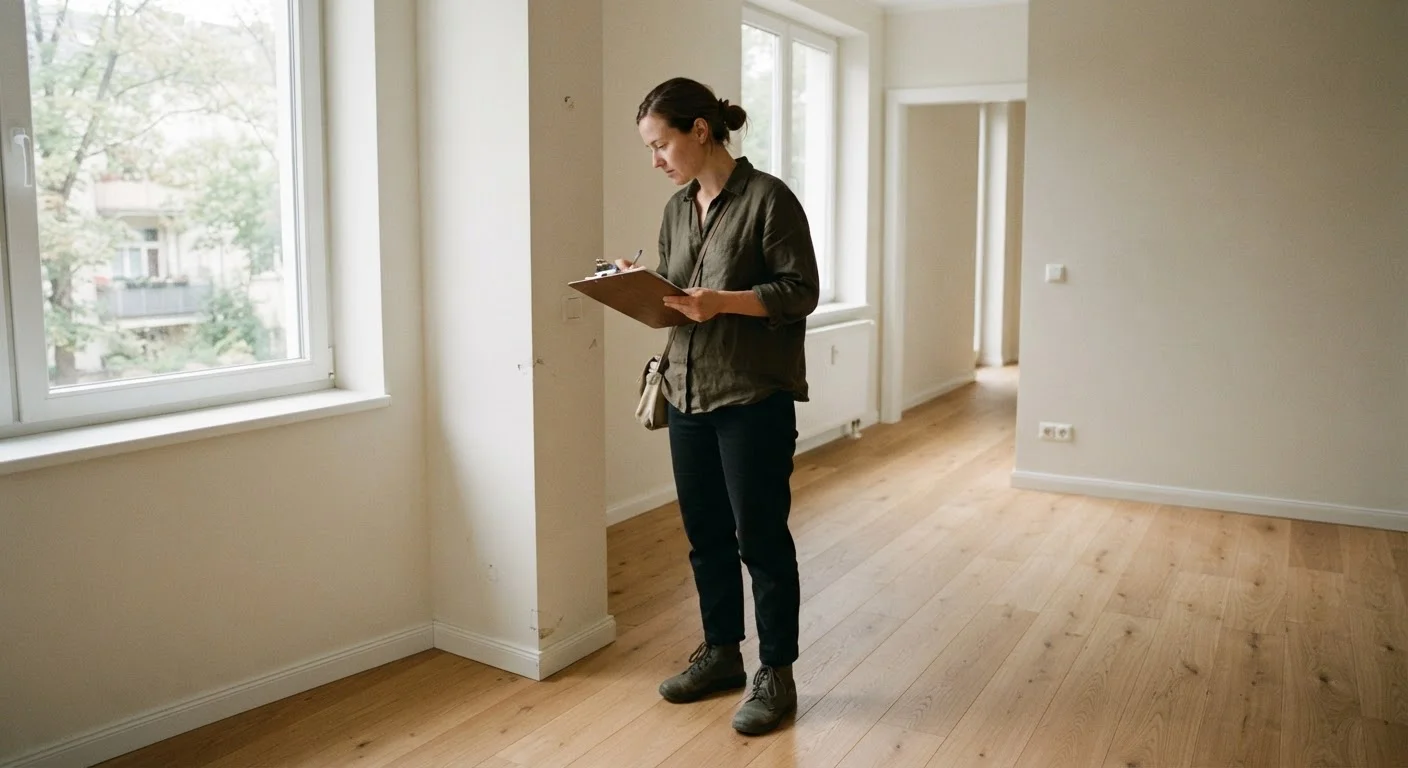
Work through every room systematically. Don't skip areas because they look fine at a glance — surface-level cleanliness can mask deeper issues. Note any defect using specific language: not "dirty" but "brown stain on northeast corner of bedroom carpet, approximately 4 inches in diameter." Precision matters if you ever need to dispute a charge.
Preparation (Before You Arrive)
Entry, Hallways, and Common Doors
Kitchen
Bathrooms
Bedrooms and Living Areas
Safety Systems and Final Checks
Once you've completed the inspection, compile your notes and photos into a single dated document. Send a copy to the landlord via email — even if you also hand over a paper copy — so the timestamp is preserved. This is the same documentation discipline that separates renters who win deposit disputes from those who lose them.
If the walkthrough reveals significant problems — mold, non-functional heating, pest evidence, broken locks — treat those as red flags, not minor inconveniences to negotiate around. Our article on red flags in rental listings and lease agreements covers the warning signs that often appear before move-in and can signal a difficult tenancy ahead.
This article provides general educational information for renters and is not legal advice. Tenant rights and landlord obligations vary by state and municipality. Consult a licensed attorney or your local tenant rights organization for guidance specific to your situation.