Why Topo Maps Matter for Hikers
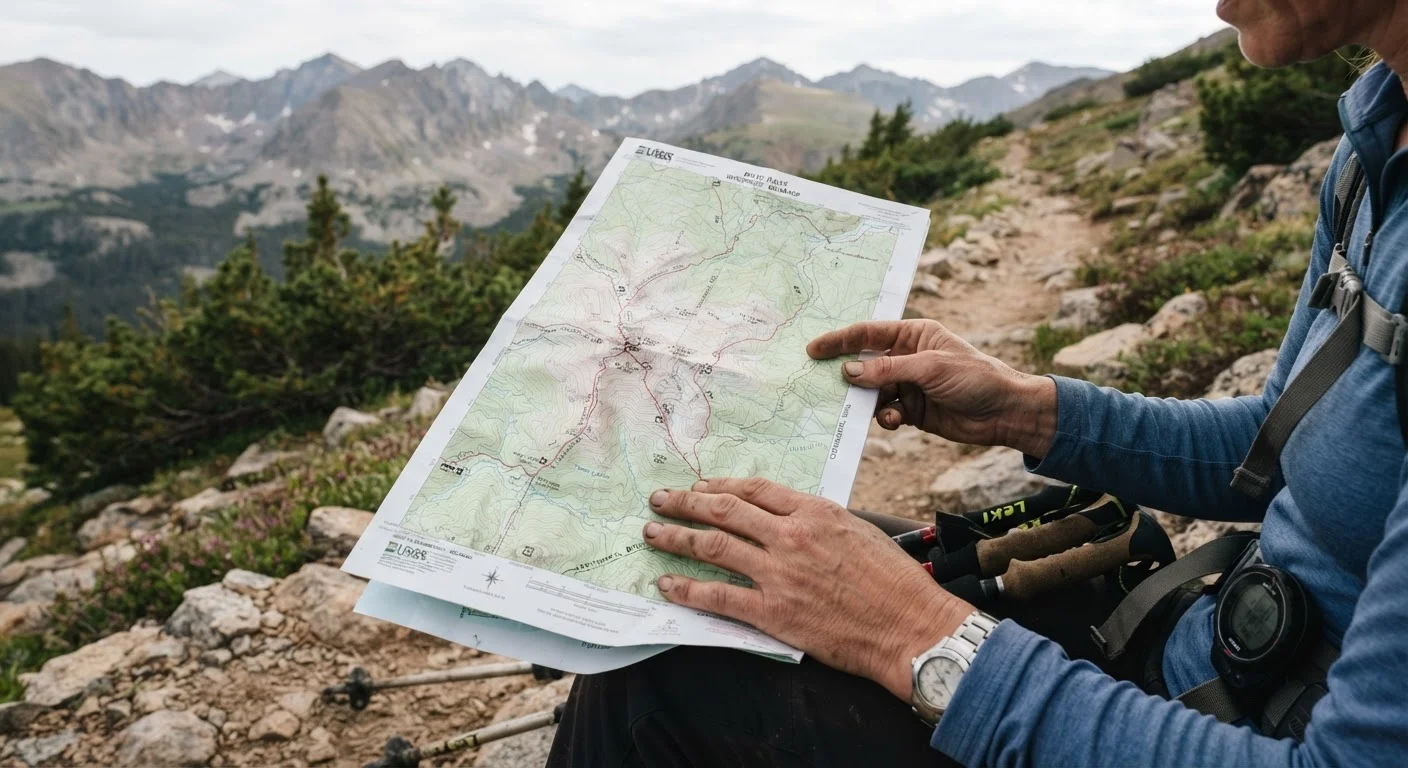
A topographic map — often called a topo map — does something a standard trail map can't: it shows you the shape of the land. Instead of a flat line marking a trail, a topo map tells you whether that trail climbs steeply, drops into a valley, or traverses a gentle ridge. That information can mean the difference between a pleasant afternoon hike and an unexpected struggle.
Smartphone GPS apps are genuinely useful, but cell service disappears fast in the backcountry. Learning to read a paper (or downloaded offline) topo map is a durable skill that works anywhere. See our guide to navigating without a signal for a deeper look at how traditional and digital tools work together. Before you hit any serious trail, it also helps to understand how difficulty ratings work — our article on trail terrain and difficulty ratings pairs perfectly with what you'll learn here.
The good news: topo maps follow a consistent, learnable logic. Once you understand the rules, the squiggly brown lines start telling a clear story.
What You'll Need Before You Start
Getting started requires only a few things, most of which are free or low-cost.
What you will need
Topographic Map
The primary document you will learn to interpret — shows elevation, terrain shape, water features, and trails.
Compass
Used to orient the map to true north so terrain features align with the real landscape around you.
Ruler or Scale Card
Helps you measure distances on the map and convert them to real-world miles or kilometers using the map scale.
Pencil
Mark planned routes or waypoints lightly on a printed map without permanently obscuring map details.
Once you have a map in hand, find a quiet spot to spread it out — your kitchen table works perfectly for your first practice session.
Step-by-Step: Reading Your Topo Map
Work through these steps in order. Practicing at home with a map of a familiar area (a local state park, for example) is a great way to build confidence before you rely on these skills in the field.
Find the Map Scale and Contour Interval
Look at the bottom margin of the map. You'll find two key numbers: the scale (often expressed as a ratio like 1:24,000, meaning one inch on the map equals 24,000 inches — or 2,000 feet — in the real world) and the contour interval, which tells you the elevation difference between each contour line. Common intervals are 20, 40, or 80 feet. A 40-foot interval means each line you cross while traveling uphill adds 40 feet of elevation gain.
Identify the Index Contour Lines
Not all contour lines are the same weight. Every fifth line is drawn darker and bolder — these are called index contour lines, and they have the elevation printed directly on them. Lighter lines between them are intermediate contours. Start by reading the index lines to understand the general elevation range of the area you're studying.
Interpret Line Spacing to Gauge Steepness
This is the core skill. Closely spaced contour lines = steep terrain. Widely spaced lines = gentle or flat terrain. If you see lines packed tightly together on your planned route, expect a challenging climb or descent. Wide-open spacing between lines means easy, gradual walking. Practice by finding a known viewpoint or hill on your map and verifying the line spacing matches your memory of the slope.
Recognize Ridges and Valleys from V-Shapes
Contour lines bend into V or U shapes when they cross ridges and valleys. Remember this rule: V-tips pointing uphill (toward higher elevation numbers) = valley or stream channel. V-tips pointing downhill (toward lower elevation numbers) = ridge. Streams almost always flow through valleys, so you can often verify your interpretation by checking whether a blue line (water) appears inside the V.
Orient the Map to the Landscape
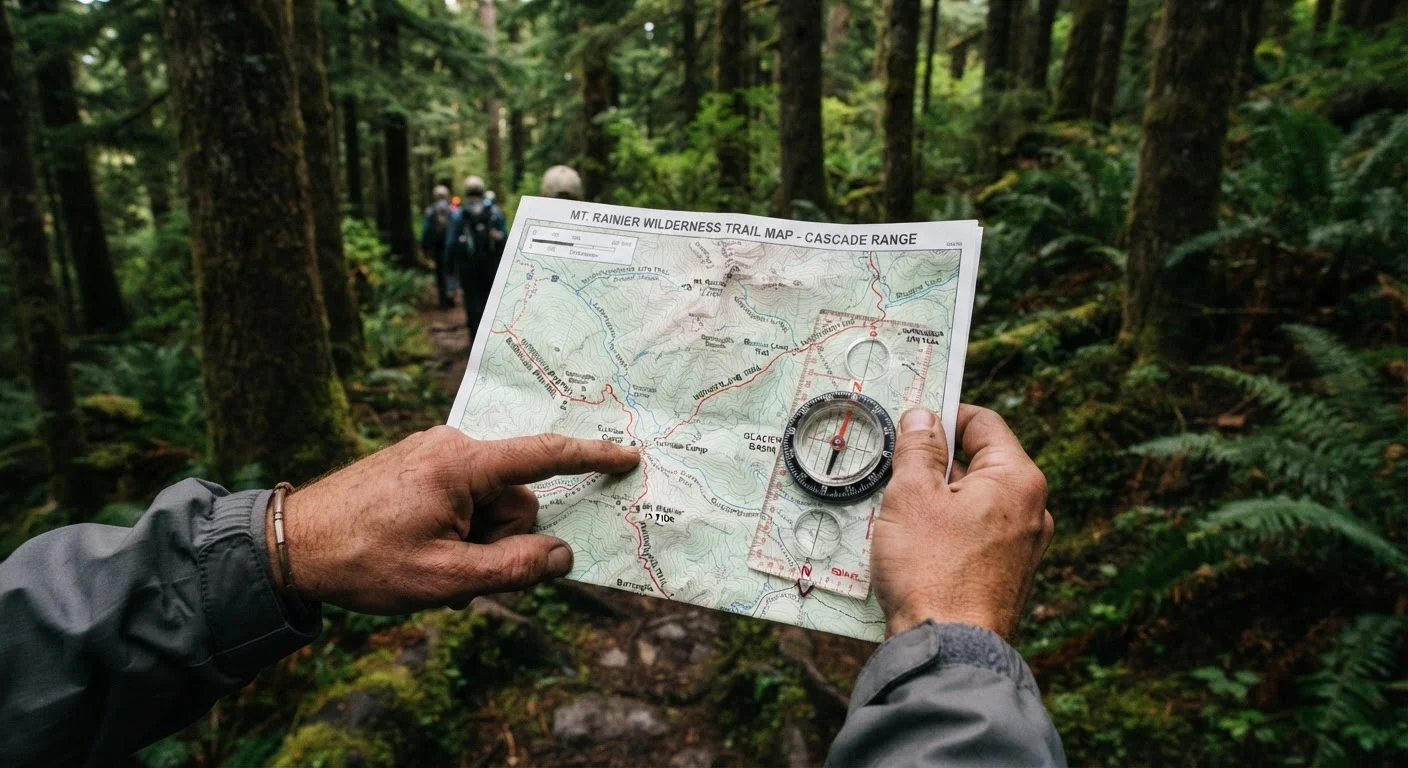
Reading a map at a desk is practice; using it in the field means aligning the map with reality. Use your compass to find magnetic north, then rotate the map so its north arrow matches. Now the ridges and valleys on paper should correspond to what you actually see in front of you. Pick two obvious landmarks — a hilltop, a bend in a creek — find them on the map, and confirm your position. This process is called taking a bearing and is the foundation of confident land navigation.
Common Terrain Features to Recognize
Once you're comfortable with the basics, start practicing terrain recognition. Here are the patterns to look for:
- Ridge: A series of contour lines forming a V or U shape with the point facing downhill (away from the hilltop). Ridges are high ground between two valleys.
- Valley or drainage: Contour lines forming a V or U with the point facing uphill. Water flows through valleys, so these are also where streams appear on the map.
- Summit or peak: A small closed oval or circle at the center of the surrounding contour lines. The innermost ring is the highest point.
- Saddle or pass: An hourglass shape where two peaks are connected by lower ground — often the easiest crossing between two high points.
- Cliff: Contour lines so close together they appear to merge. Approach this terrain with caution in the field.
Keep your day hike preparation checklist handy — map-reading is one item on a longer list of smart pre-hike habits. And if you're new to sleeping outside too, our first-time camping guide covers the broader picture of getting comfortable outdoors.