Why the Room Comes Before the Equipment
Most home theater mistakes start at the checkout screen, not the hardware store. A display that looks stunning in a showroom can wash out in a bright living room, and a speaker system that sounds incredible in a demo suite can produce muddy echo in a room with hardwood floors and bare walls. The physics of light and sound don't bend to marketing promises — your room sets the actual limits.
This checklist walks you through every environmental and structural factor that should inform your equipment choices. Work through it before you set a budget for components. The goal isn't to add complexity — it's to prevent expensive mismatches between what you buy and what your space can actually support.
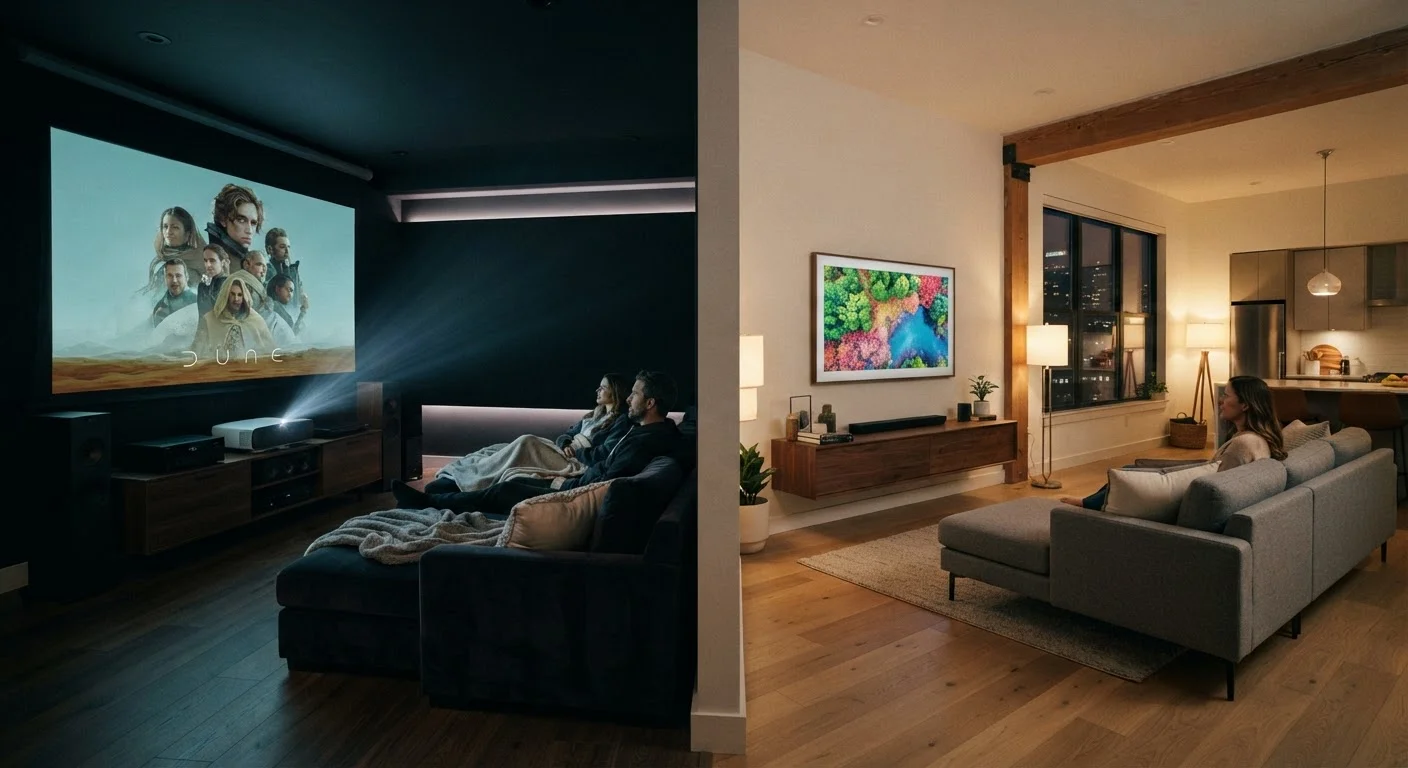
If you're weighing the display question early, it helps to understand how projectors and large-screen TVs handle light and contrast differently. See our guide to projectors vs. large-screen TVs for a side-by-side breakdown of the viewing experience.
Room Assessment
Viewing Distance and Display Sizing
Acoustic Environment
Electrical and Cabling Infrastructure
How Room Acoustics Shape Sound — and What You Can Do About It
A common misconception is that better speakers automatically produce better sound. In reality, a mid-range speaker system in a well-treated room often outperforms high-end equipment in a room with poor acoustics. Hard, parallel surfaces — bare concrete, large windows, uncarpeted floors — create reflections that blur dialogue and smear stereo imaging. Soft, irregular surfaces absorb and scatter sound energy, reducing those problems.
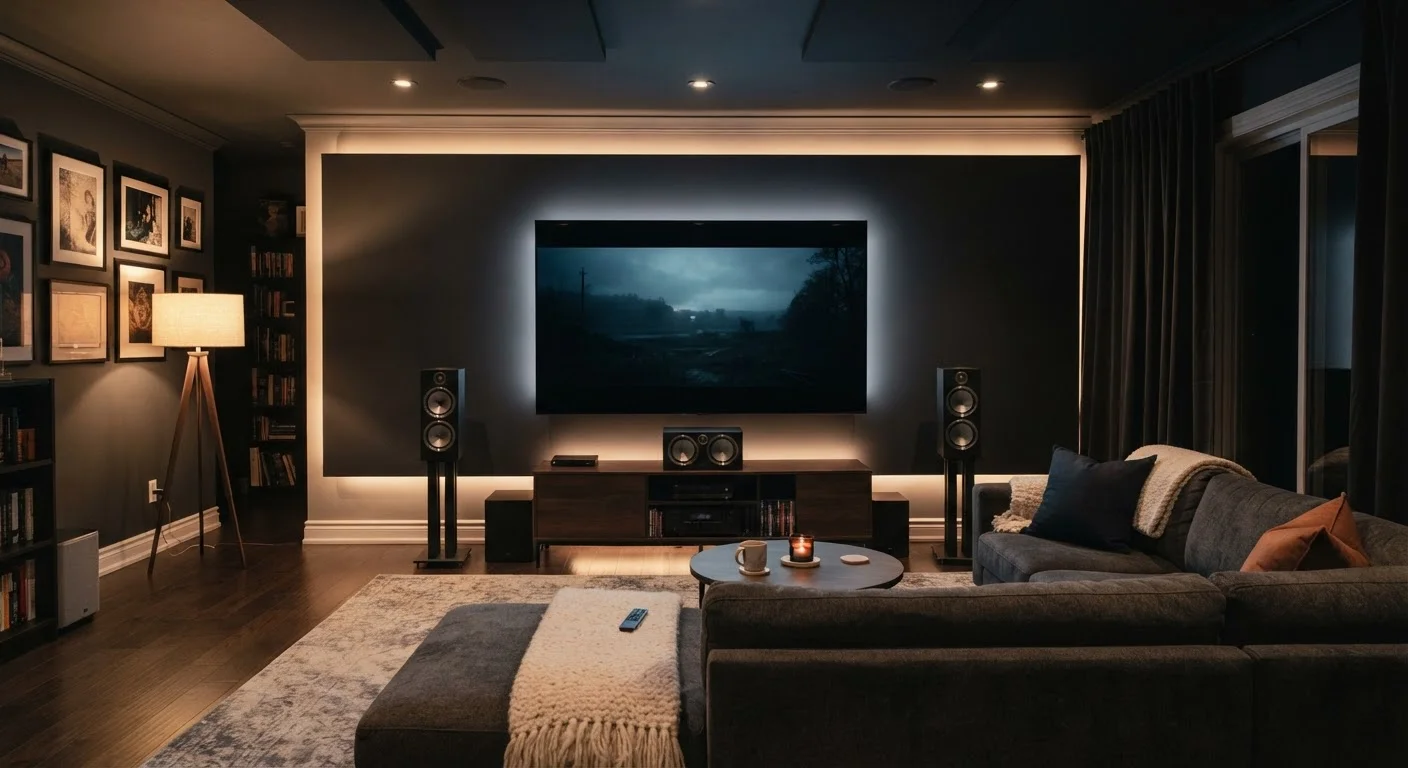
You don't need to install professional acoustic panels to make a meaningful difference. Area rugs, upholstered furniture, bookshelves filled with irregularly sized books, and curtains over windows all contribute to acoustic damping. The goal is to break up flat, reflective surfaces without over-deadening the room, which can make audio sound unnatural.
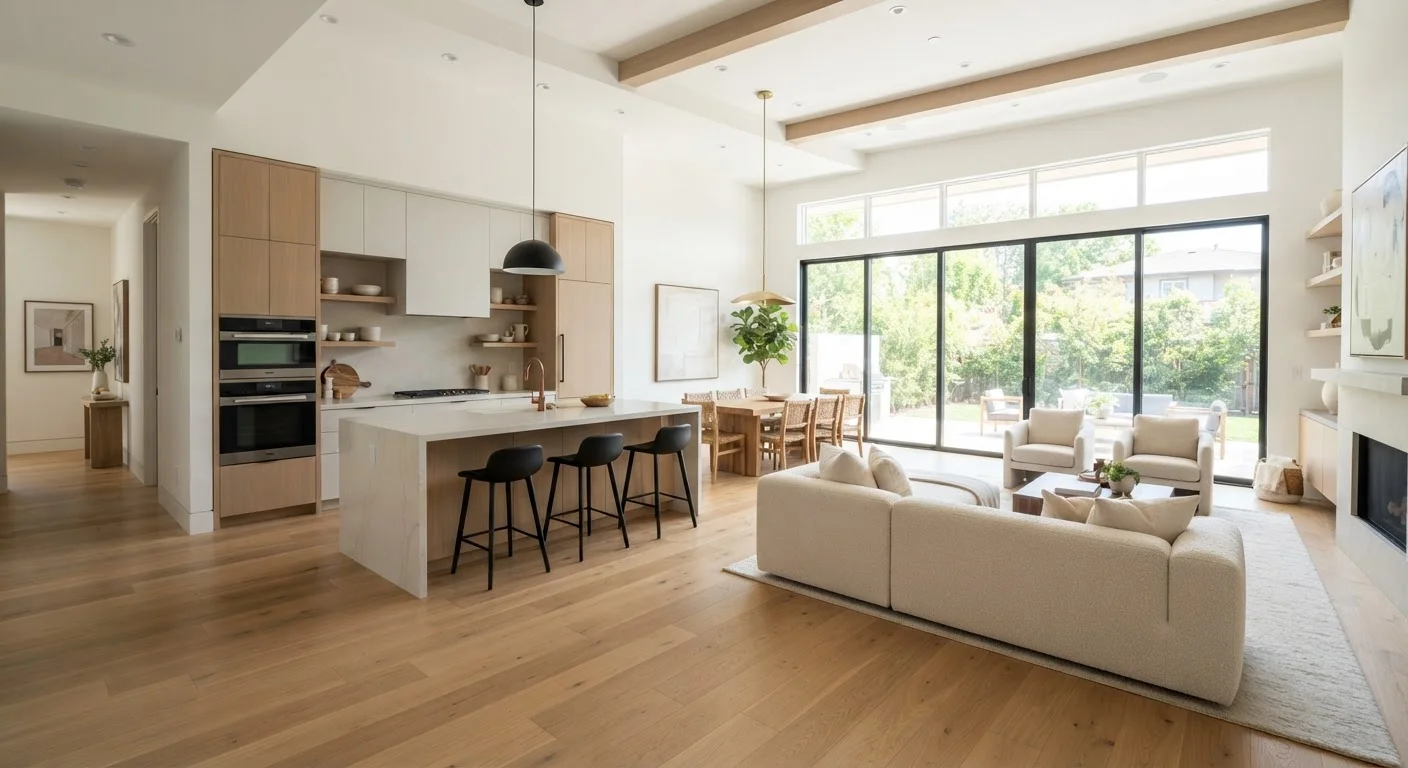
Open floor plans present a particular challenge: the absence of walls removes natural containment of sound, which can reduce bass response and make dialogue feel thin. Our article on what open floor plans sacrifice acoustically covers this trade-off in useful detail.
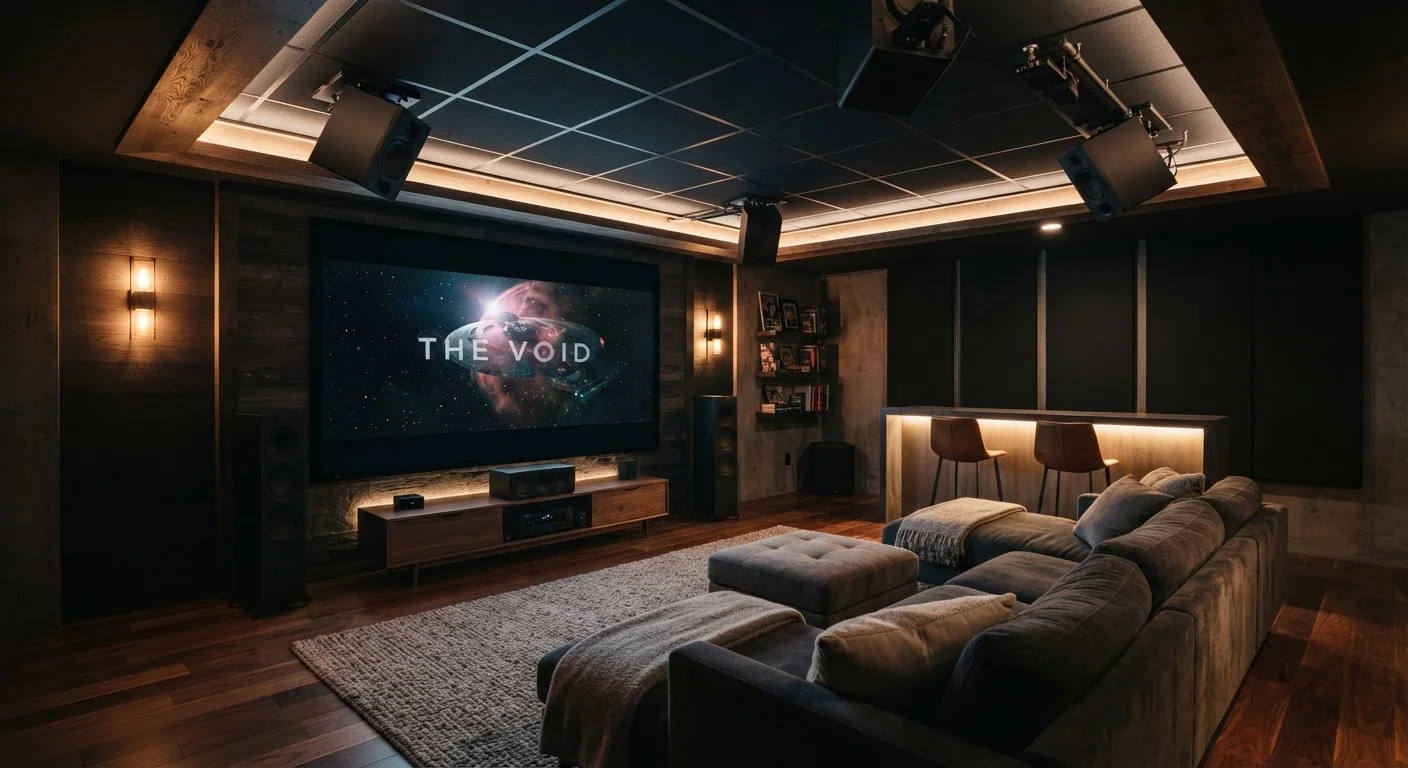
If you're planning a multi-speaker setup and are deciding between audio formats, understanding how sound is spatially encoded will help you choose the right receiver configuration. Our Dolby Atmos vs. surround sound explainer covers how each approach works in practice.
Tape measure (25 ft minimum)
Record accurate room dimensions, viewing distances, and wall clearances before planning any equipment placement.
Smartphone decibel meter app
Measure ambient noise levels in the room to understand how much environmental sound you'll be competing with.
Stud finder
Locate wall studs to confirm safe mounting positions for display screens and speaker brackets.
Circuit tester or outlet tester
Verify that wall outlets are correctly wired and grounded before connecting sensitive audio and video equipment.
Graph paper or room layout app
Sketch the room to scale so you can test speaker and furniture arrangements visually before moving anything physically.
Electrical, Cabling, and Practical Infrastructure
Home theater components draw more power than most household electronics, and running multiple devices from a single circuit can trip breakers or cause ground-loop interference — a low hum that appears in speakers and is notoriously difficult to eliminate after installation. Identify which electrical circuit serves the room and confirm it isn't shared with large appliances.
Cable routing is often an afterthought, but it shapes where your components can physically go. HDMI cables, speaker wire, and power cables all have practical length limits and interference sensitivities. Planning cable paths — including whether you'll run them inside walls or along baseboards — before placing furniture prevents having to rearrange everything later.
In-Wall Electrical Work Requires a Licensed Electrician
Running new circuits, adding dedicated outlets, or modifying your electrical panel to support home theater equipment is regulated work in most U.S. jurisdictions and typically requires permits and inspection. Do not attempt this work yourself unless you are a licensed electrician. Improper wiring creates fire and shock hazards that are not immediately visible and may not show up until conditions change.
If you're not currently in the right space for a dedicated home theater setup, it's worth understanding what your housing situation allows. Our overview of renting vs. buying considerations may help frame what renovations or permanent installations are realistic for your circumstances.