Why Linocut Is the Perfect Entry Point to Printmaking
Linocut sits in a sweet spot among creative hobbies: it's tactile, produces genuinely striking results, and doesn't require a printing press or a dedicated studio. The process — carving a design into a linoleum block, rolling ink over it, and pressing paper against the surface — has been practiced by artists around the world for over a century, and its accessibility is exactly why it endures.
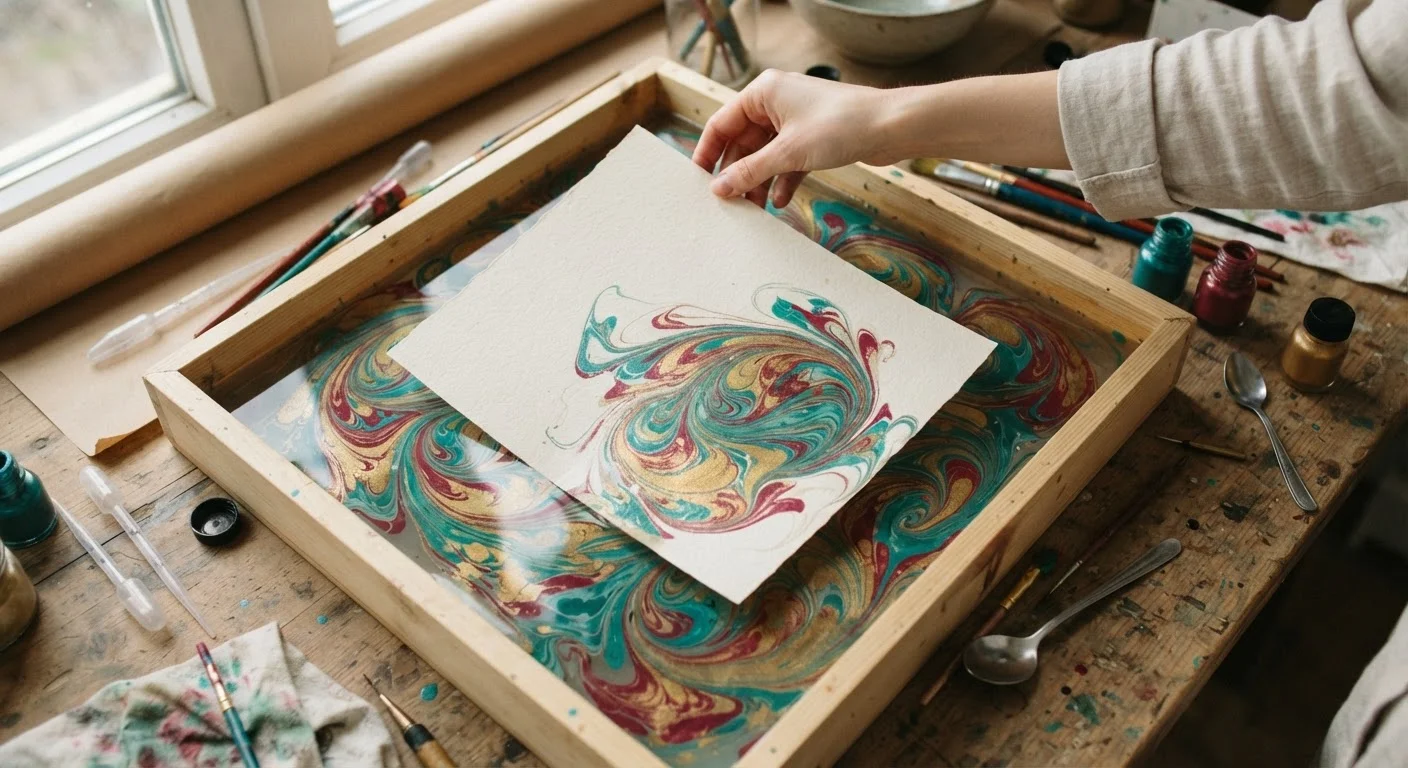
If you've ever been curious about printmaking but felt intimidated by etchings or screen printing, linocut is the natural starting place. It shares that handmade, one-at-a-time quality with other craft pursuits like paper marbling, but the results are more graphic and bold. For a broader picture of what other hands-on creative hobbies look like, this overview of creative hobbies for adults is a useful starting map.
Before you begin, make sure your space is set up for the task — having good lighting, a stable work surface, and a clear area for drying prints makes a real difference. Our guide to setting up a small creative workspace at home covers the essentials.
Linoleum block
The surface you carve your design into; grey or tan soft lino is easiest for beginners.
Linocut gouge set
V-gouges cut fine lines; U-gouges clear large areas of negative space quickly.
Water-based block printing ink
Transfers your design to paper; water-based formulas clean up with soap and water.
Brayer (ink roller)
Rolls an even, thin layer of ink across the surface of your carved block.
Baren or wooden spoon
Applies firm, even pressure to the back of the paper during hand-printing.
Printing paper
Smooth, lightweight paper (such as Japanese kozo or standard cartridge paper) absorbs ink well.
Graphite transfer paper
Transfers your drawn design onto the block without tracing freehand.
Bench hook
Braces the block against a table edge so it doesn't slip while you're carving.
What You'll Need Before You Start
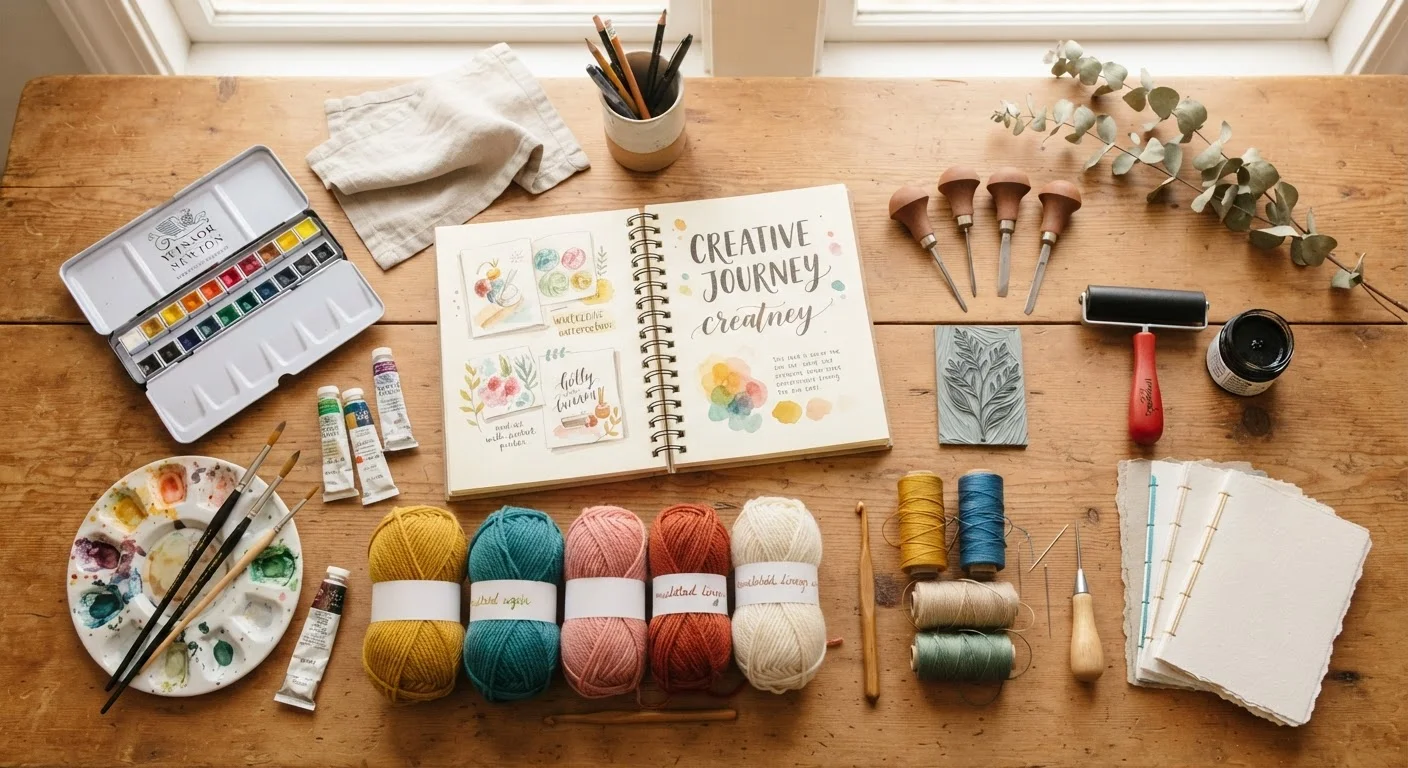
Gather your materials before you begin — stopping mid-carve to hunt for ink is frustrating. The tool list above covers everything from the essentials to the genuinely helpful extras. One clarification worth making upfront: linoleum blocks used in printmaking are not the same as vinyl floor tiles. Look for soft, grey or tan artist's lino, which carves cleanly and evenly. Vinyl carving blocks (often sold in bright colors) are softer still and great for children or anyone with less hand strength.
What you will need
Unlike watercolor painting, linocut doesn't demand expensive paper to get started. Standard cartridge paper or even newsprint works fine for test pulls; save smoother, more absorbent paper for your finished edition.
Step-by-Step: From Block to Finished Print
Follow the steps below in order. The carving stage takes the longest, especially on a first project — budget at least 45 minutes for a palm-sized design. Printing itself is satisfying and fast once the block is ready.
Sketch and finalize your design on paper
Keep your first design simple — bold shapes, thick lines, and strong contrast between positive (inked) and negative (carved away) areas print far more successfully than intricate detail. Draw your image at the same size as your block on regular paper. Remember that any text or asymmetrical image must be drawn in mirror image now, so it reads correctly in the final print.
Transfer the design onto your block
Place graphite transfer paper face-down on the block, lay your sketch on top, and trace firmly with a pencil or ballpoint pen. Lift carefully to reveal the transferred lines. Alternatively, scribble pencil across the back of your drawing, flip it face-down on the block, and trace the design — the graphite deposits directly onto the lino. You can also draw directly onto the block with a marker if you're confident.
Carve the block
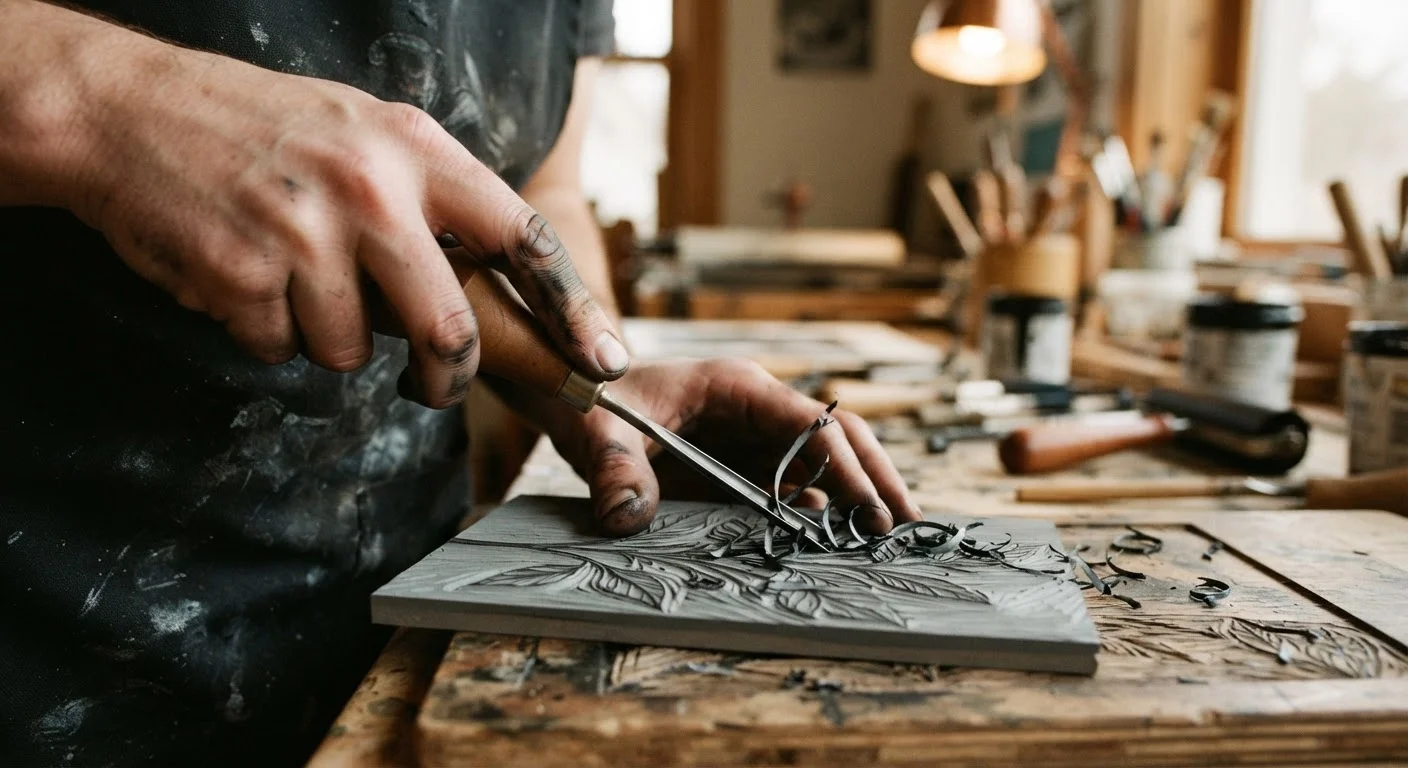
Use a V-gouge to outline your design with clean, controlled cuts. Switch to a U-gouge to scoop out larger background areas. Always carve away from your body and the hand holding the block — use a bench hook if you have one. The areas you carve away will remain white (un-inked) in the print; the raised surface receives ink. Work gradually and check your progress by holding the block up to a light source.
Roll ink onto the block
Squeeze a small amount of water-based block printing ink onto a smooth inking surface (a glass plate or an acrylic sheet works well). Roll your brayer back and forth until the ink on the brayer sounds slightly tacky — like a soft sticky noise. Then roll the brayer evenly across your carved block in multiple directions. The ink layer should look smooth and even, not thick or globby. Thin, even coats produce the cleanest prints.
Print the block
Lay your printing paper carefully onto the inked block. Rub the back of the paper firmly and evenly with a baren or the back of a wooden spoon, using circular motions. Cover every part of the image area, applying consistent pressure throughout. Peel the paper back from one corner slowly to check coverage — if an area looks faint, lay the paper back down and rub again before fully removing it.
Hang to dry and clean up
Hang or lay your prints flat to dry for at least 30–60 minutes before stacking them. Water-based ink cleans easily from the block, brayer, and inking plate with warm water and a little dish soap. Dry your block thoroughly before storing. Once dry, prints can be signed in pencil below the image using the traditional format: edition number / total (e.g., 3/10), title, signature.
Common Issues and How to Fix Them
Even experienced printmakers troubleshoot regularly. Here are the most common problems beginners encounter:
- Patchy ink coverage: Usually means the ink layer was too thin, or pressure during printing was uneven. Re-ink and reprint, spending extra time on the faint areas with your baren.
- Ink bleeding into carved areas: Too much ink on the block. Blot, re-roll with a leaner coat.
- Paper shifting mid-print: Use tape guides or lightly hold the paper in place as you rub. A registration system becomes essential when printing multiple colors.
- Slipping gouge: Cold lino is harder to cut and causes tools to skid. Gently warming the block helps, as does using a bench hook for stability.
Linocut rewards iteration — your second and third pulls from the same block are almost always better than the first as you dial in ink quantity and pressure. Print a small edition of six to ten copies and you'll see real improvement across the run.