Why Watercolor Surprises Most Beginners
Watercolor looks effortless in finished paintings. In practice, it works differently from every other painting medium — and that gap between expectation and reality is where most beginners get discouraged. Unlike acrylic or oil, you can't paint light colors over dark ones. The white of the paper is your lightest value, and everything you paint makes it darker. That one fact changes your entire approach.
The medium is also highly sensitive to time. Paint dries quickly, especially in warm or dry rooms, and the window for blending or lifting pigment can close in seconds. This sounds stressful, but it's also what gives watercolor its characteristic luminosity and freshness — qualities that are very hard to fake with other materials.
If you've ever enjoyed other water-based creative projects, you'll recognize some of the sensory pleasure of the medium. And if adventurous, unscripted hobbies appeal to you — the kind where conditions shift and you adapt — watercolor fits that spirit. (Fans of outdoor pursuits like those covered in our first-time camping guide often find watercolor similarly rewarding for exactly that reason.)
The Materials That Actually Matter
Beginners often overspend on paint and underspend on paper. Flip that instinct. Paper is the single most impactful variable for a new watercolorist.
Pigment transparency
How see-through a watercolor paint is when applied. Transparent colors let the paper (or layers beneath) show through; opaque colors block what's underneath.
Wash
A layer of diluted watercolor applied across the paper. Washes form the foundational layers of most watercolor paintings.
Wet-on-wet
Applying wet paint to paper that is already wet. This creates soft, flowing edges and unpredictable color blooms.
Wet-on-dry
Applying paint to completely dry paper or a fully dried layer of paint. This produces crisp, defined edges.
Cold-press paper
Watercolor paper with a slightly textured surface, produced by pressing through cold rollers. It's the most common choice for beginners due to its versatility.
Granulation
A natural effect where certain pigments settle into the texture of the paper in visible clusters, creating a mottled, textured appearance.
Paper
Use cold-press watercolor paper rated at 140 lb (300 gsm) or heavier. Cold-press has a slight texture that holds pigment beautifully and is more forgiving than the smoother hot-press surface. Anything lighter will buckle and fight you every step of the way.
Paint
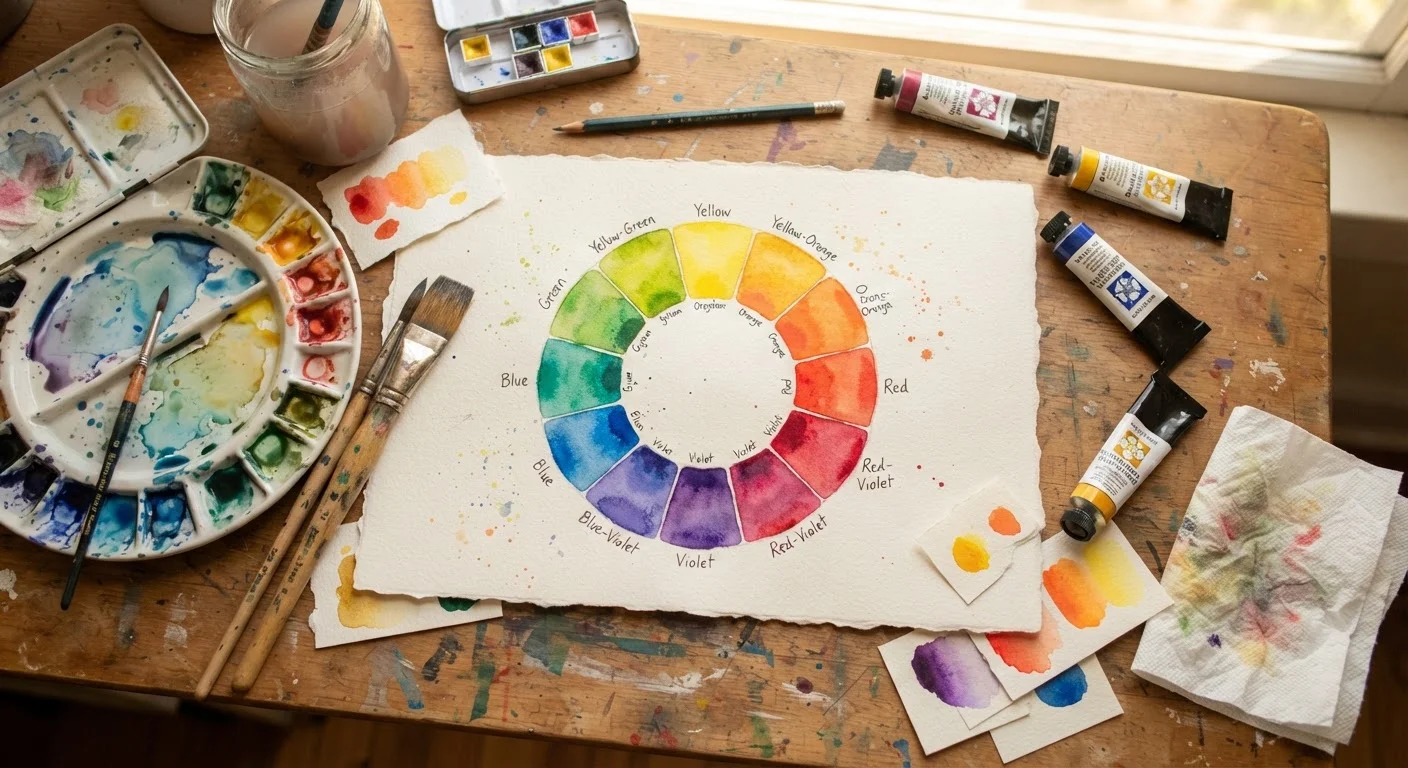
Student-grade tube or pan watercolors are fine for learning. A basic palette of 10–12 colors is more than enough. Focus on pigment transparency — some colors are naturally transparent (ideal for layering), while others are opaque or granulating. Understanding this early saves a lot of confusion. Our article on how artists use the color wheel in practice is a great companion read once you're mixing colors regularly.
Brushes
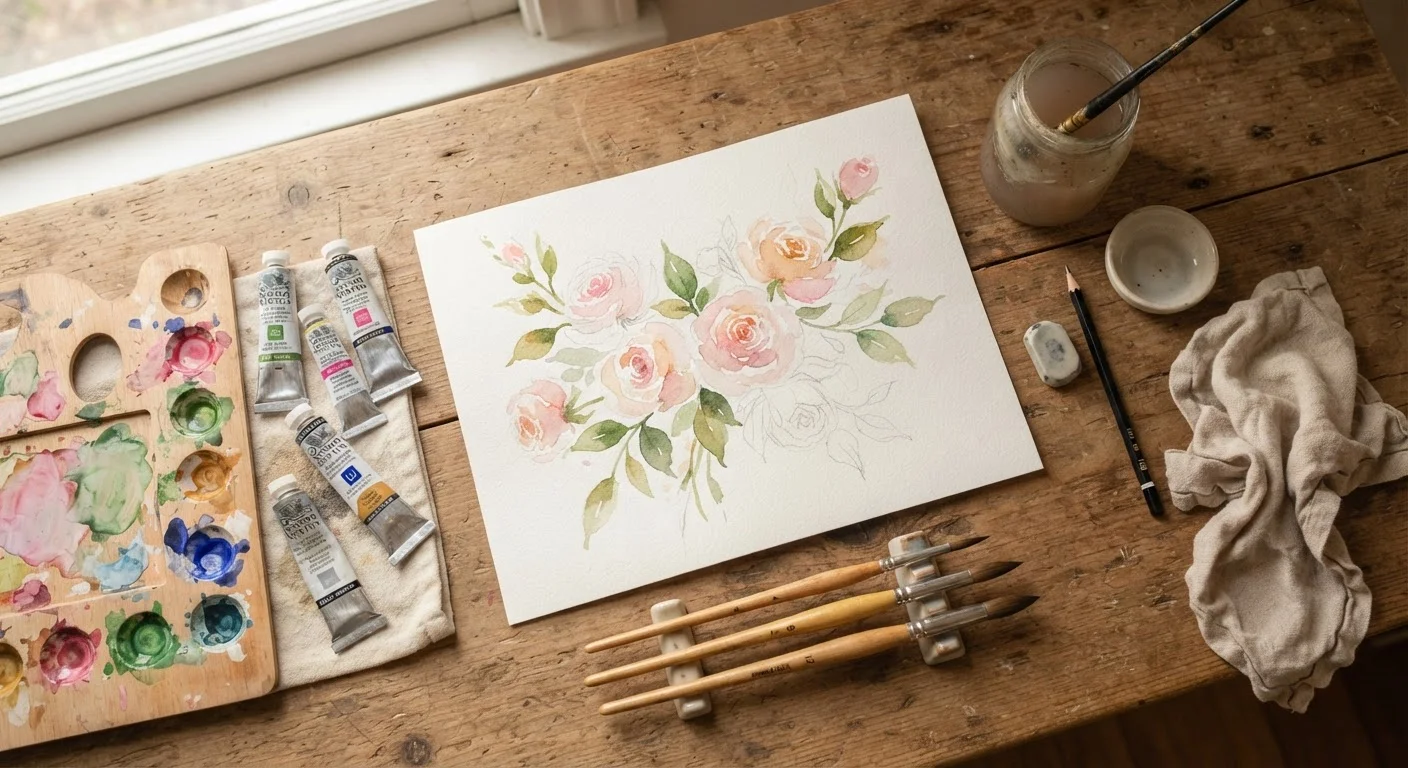
You truly only need three brushes to start: a large round for broad washes, a medium round for general shapes, and a small round for details. Synthetic brushes hold water well and are affordable. Skip specialty brushes until you've developed a feel for what you actually use.
Other essentials
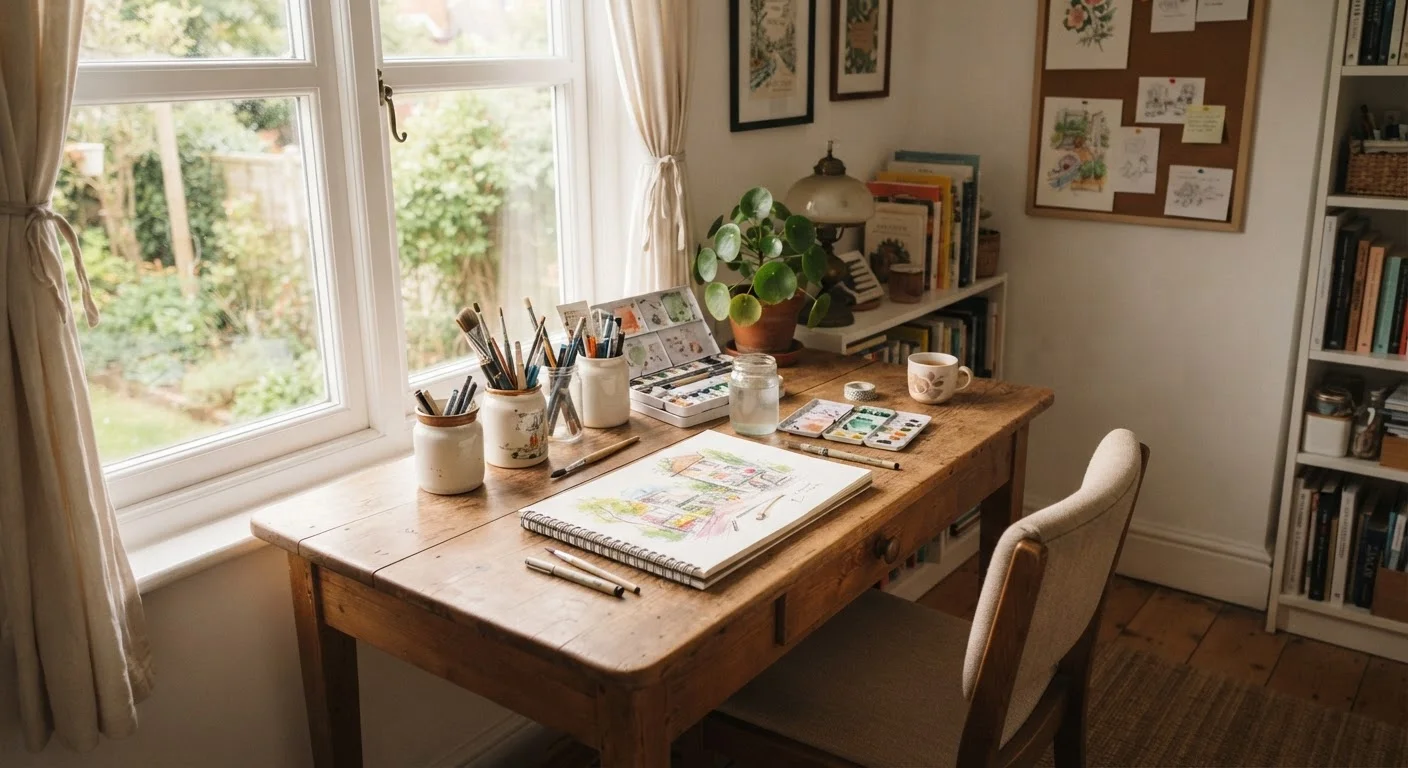
Two jars of water (one for rinsing, one kept clean for mixing), a ceramic or plastic palette with wells, paper towels, and masking tape or a watercolor block. That's genuinely the complete list. For workspace tips, our guide to setting up a small creative workspace at home has practical advice on organizing a simple painting area.
Core Techniques to Practice First
Before painting anything recognizable, spend time learning how water and pigment interact. These four exercises will teach you more than any finished painting.
Flat wash
Load a large brush with a consistent color-to-water mix and drag it across the paper in overlapping horizontal strokes. The goal is an even, uniform layer of color. This trains you to work quickly and maintain a consistent mix.
Graded wash
Start with full-strength pigment and progressively add more water with each stroke. The result is a smooth fade from dark to light. This technique underlies skies, water, and most soft backgrounds.
Wet-on-wet
Wet the paper first with clean water, then drop pigment into the wet surface. Watch it bloom and spread. This unpredictable technique produces the soft edges and atmospheric effects watercolor is famous for.
Wet-on-dry
Apply paint to completely dry paper. This gives you crisp, defined edges — useful for details, foreground elements, and architectural shapes. Most paintings combine both wet-on-wet and wet-on-dry passages.
Keep Two Water Jars on Your Desk
Dirty water muddies your colors faster than almost anything else. Use one jar exclusively for rinsing brushes and a second jar of clean water for mixing. Swap the rinse jar out whenever it turns dark — this one habit noticeably improves color clarity.
Color mixing is closely tied to technique. Mixing on the palette gives predictable results; mixing on wet paper creates natural blends. Both are useful, and knowing when to use each is a skill that develops quickly with deliberate practice.
Common Mistakes and How to Avoid Them
Most beginner struggles trace back to a small set of recurring problems. Knowing them in advance saves a lot of frustration.
Too much water, too little pigment
Pale, washed-out results usually mean the mix was too dilute. Practice loading your brush with more pigment. Watercolor should feel rich and saturated in the palette even when it dries lighter on paper.
Overworking wet paint
Going back into a wet area with more brushstrokes pushes pigment around unpredictably and can damage the paper surface. If you've laid a wash, let it dry completely before touching it again.
Wrong paper
Thin paper buckles severely, making paint pool in unpredictable troughs. This is not a technique problem — it's a materials problem. The fix is simply switching to heavier paper.
Painting dark over light incorrectly
Watercolor is built from light to dark. Plan your lightest areas first — reserve them by painting around them or using masking fluid — then layer progressively darker values. Reversing this order almost never works.
If you enjoy working with water-based mediums and want to explore a very different technique, paper marbling offers a fun contrast — less control, more happy accident.
Building a Simple Practice Routine
Consistency matters far more than session length. Twenty focused minutes three times a week beats a single marathon session once a month. Here's a structure that works for most beginners:
- Warm up with a wash exercise — spend 5 minutes doing a flat or graded wash. It calibrates your water-to-pigment ratio for the day.
- Work on a single subject — a leaf, a cup, a simple landscape. Constrained subjects force you to solve real compositional problems.
- Experiment with one new technique — try wet-on-wet for the first time, or practice lifting pigment with a dry brush. Keep it low-stakes.
- Review what happened — note what worked, what didn't, and what you'd try differently. Even a sentence in a sketchbook creates a learning loop.
Progress in watercolor is rarely linear. Some sessions will feel effortless; others will produce nothing you want to keep. Both kinds are useful. The medium rewards patience and curiosity over perfectionism — and that's part of what makes it so satisfying as a long-term creative practice.
If you're drawn to printmaking or other paper-based crafts, linocut printmaking is another accessible discipline worth exploring as your creative confidence grows.