Define Your Scope Before Anything Else
The most common mistake homeowners make is calling contractors before knowing what they actually want. Vague scope leads to vague bids — and bids you cannot compare apples-to-apples. Before you contact a single contractor, decide whether you are doing a cosmetic refresh (new fixtures, paint, vanity swap), a partial remodel (new tile, updated plumbing fixtures, reconfigured storage), or a full gut renovation (everything down to the studs, possible layout changes).
Layout changes are a critical decision point. Moving a toilet, shower, or tub means relocating drain lines — work that is expensive and typically requires a permit. Staying within the existing footprint keeps costs and timelines manageable. If your primary goal is resale value rather than personal enjoyment, see which renovations actually pay off at resale before committing to a layout change that the market may not reward.
Document your scope in writing: list every fixture, every surface, and every system you intend to change. This document becomes the foundation of your contractor conversations and your budget.
What you will need
Understand the Trade Sequence — and Why Order Matters
A bathroom remodel is not a single job; it is five or six specialized jobs that must happen in a specific order. Disrupting that sequence forces trades to return, damages finished work, and inflates your final bill.
The correct sequence for a full renovation is generally:
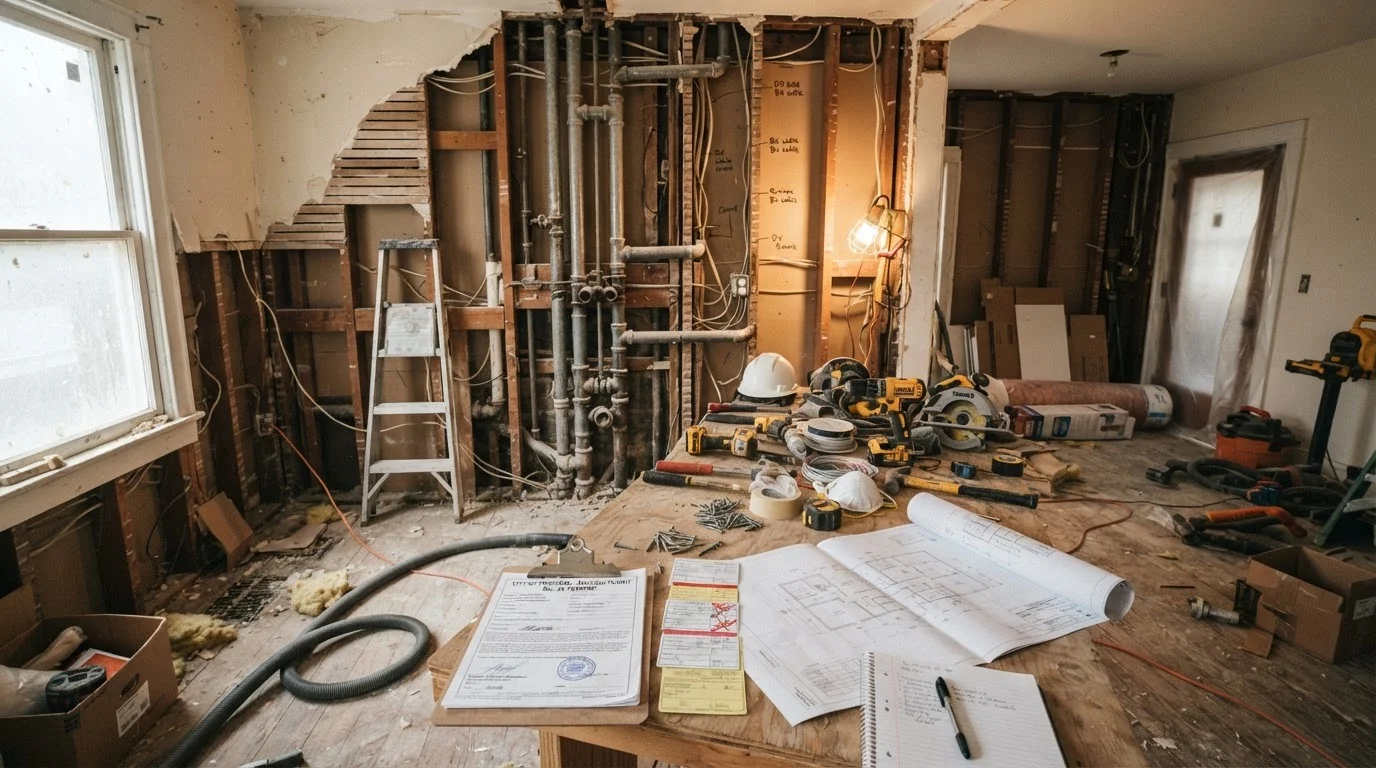
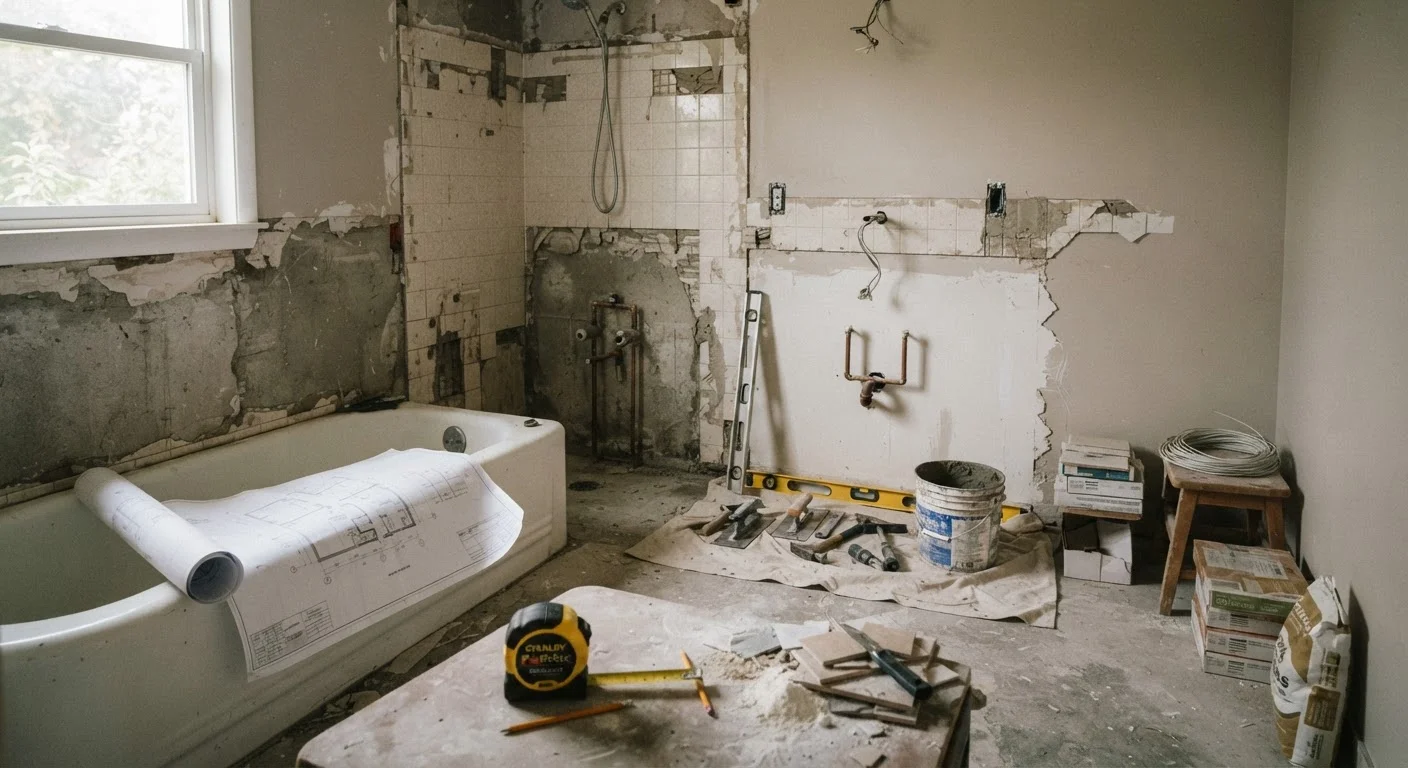
- Demolition — Remove existing tile, fixtures, drywall, and flooring. This reveals what is actually behind the walls: moisture damage, outdated wiring, cast-iron drain lines, or structural issues.
- Rough plumbing and rough electrical — Licensed plumbers and electricians run new supply lines, drain lines, and circuits before walls are closed. GFCI outlet placement and exhaust fan wiring happen here.
- Inspection — If permits were pulled (and they should be for plumbing and electrical), inspectors sign off on rough work before walls close. Do not skip this step.
- Moisture barrier and backer board — Cement board or equivalent tile substrate goes up over framing in wet areas.
- Tile work — Floor tile, shower walls, and any feature tile are set and grouted. This phase has mandatory cure time before it can get wet.
- Vanity, toilet, and fixture installation — Plumbers return to connect supply lines and drains. Electricians install outlets, switches, and lighting.
- Painting, trim, and punch list — Final finishes, caulking, accessory installation, and a walkthrough to address any outstanding items.
Understanding this sequence helps you hold your general contractor accountable and avoid being talked into shortcuts that will cause problems later. Learn which hidden costs most commonly derail renovation budgets — many stem directly from sequence errors or discoveries made during demo.
Build a Realistic Timeline
Timeline expectations are frequently the source of homeowner frustration. Here is what experience and industry norms suggest for each project type:
| Project Type | Typical Duration |
|---|---|
| Cosmetic refresh (fixtures, paint, vanity) | 2–5 days |
| Partial remodel (new tile, updated plumbing) | 1–2 weeks |
| Full gut renovation, same layout | 3–5 weeks |
| Full gut with layout changes | 5–8 weeks or more |
These ranges assume materials are on-site before work begins. Tile, vanities, and specialty fixtures can have lead times of 4–12 weeks depending on the item and supplier. Order early — material delays are the single most common reason bathroom projects run over schedule.
Also factor in permit processing time. Some jurisdictions issue over-the-counter permits in a day; others take two to three weeks. Understand when your project requires a permit and why before your contractor submits plans, so the wait does not blindside your schedule.
Schedule the Toilet Disconnect Last
If this is your only bathroom, coordinate with your contractor to keep toilet access as long as possible. Many contractors can disconnect and reinstall a toilet within a single day during the relevant phase, minimizing the disruption to your household. Discuss this logistics issue before work begins, not after the toilet is already sitting in the driveway.
Budget Structure and Contingency
Bathroom remodel costs vary widely by region, materials, and scope. Rather than citing specific dollar figures that may not reflect your market, focus on the structural breakdown contractors use internally:
- Labor typically represents 40–60% of the total project cost in a full renovation.
- Fixtures and fittings (toilet, vanity, shower valve, faucets) generally account for 15–25%.
- Tile and substrate materials often run 10–20% depending on material selection.
- Permits, disposal, and miscellaneous add another 5–10%.
Whatever your contractor's base bid, set aside a 10–20% contingency. Behind-wall discoveries — rotted subfloor, galvanized pipe that needs replacement, inadequate ventilation — are common in homes more than 20 years old. The contingency is not pessimism; it is sound planning.
If financing is part of your planning, review your home improvement financing options to understand how each structure works before committing. And if you are comparing a bathroom project to a kitchen remodel in scope and complexity, our kitchen renovation guide walks through a similarly structured end-to-end process.
This article is for general informational and educational purposes only. Costs, timelines, and permit requirements vary by location and project specifics. Always verify local code requirements and consult licensed professionals — including contractors, plumbers, and electricians — for decisions specific to your home.